This guide provides a comprehensive overview of logo placement strategies for T-shirts, covering standard locations, design sizing, and tools for precise alignment to ensure professional, visually appealing results.
1.1 Importance of Proper Logo Placement
Proper logo placement is crucial for creating a polished, professional appearance on T-shirts. It ensures designs are visually balanced, enhancing brand recognition and aesthetic appeal. Correct positioning prevents logos from appearing misaligned or oversized, which can detract from the overall look. Strategic placement also maximizes visibility, making the brand or design stand out. Whether for casual wear or promotional use, precise logo placement elevates the product’s appeal and professionalism, ensuring a lasting impression on customers or recipients.
1.2 Overview of Standard Print Locations
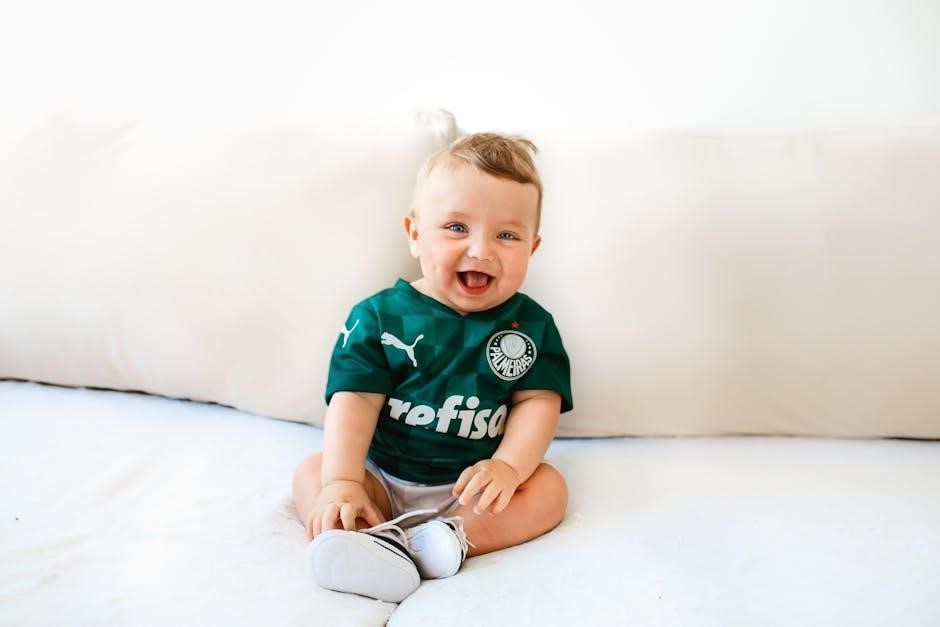
Standard print locations on T-shirts include the chest, back, sleeves, and sides. These areas are chosen for their visibility and balance. The chest is ideal for logos, while the back offers space for larger designs. Sleeves provide a subtle yet stylish placement option; Proper alignment and spacing in these locations ensure a professional and visually appealing final product, making them essential for both casual and promotional T-shirt designs.
Standard Logo Placements on T-Shirts
Discover the most common logo positions, including chest, back, and sleeves, to ensure optimal visibility and balance for both promotional and personal T-shirt designs.
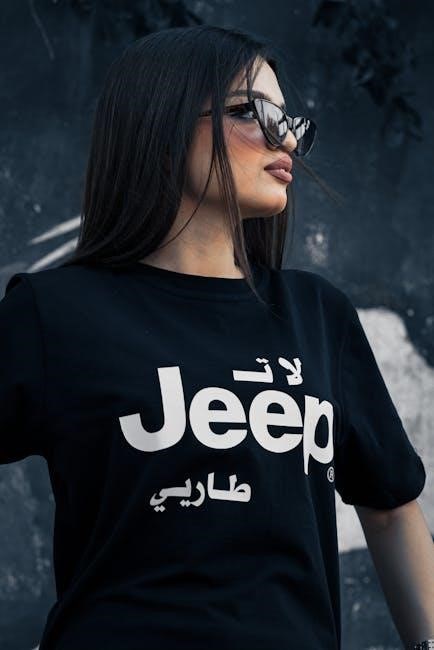
2.1 Chest Placement (Left and Right)
Chest placement is a popular choice for logos, offering high visibility. The left chest is often used for smaller logos, typically 3-4 inches wide, positioned 3-4 inches below the collar. The right chest mirrors this placement, creating symmetry. Both options ensure the logo is easily noticeable without overwhelming the design. This placement is ideal for branding, as it strikes a balance between aesthetics and functionality, making it suitable for various T-shirt styles and fabric types.
2.2 Back Placement (Upper, Middle, and Lower)
Back placement offers a versatile canvas for larger designs. The upper back, positioned between the shoulder blades, is ideal for bold logos or graphics. The middle back provides maximum visibility, centered and slightly below the collar, perfect for eye-catching designs. The lower back, near the waistline, is great for smaller, subtle elements. These placements allow for creative flexibility, ensuring your design stands out while maintaining balance and appeal across various T-shirt styles and fabric types.
2.3 Sleeve Placement (Left and Right)
Sleeve placement is a stylish and functional way to showcase logos or designs. The left sleeve, typically near the upper arm, offers a modern look, while the right sleeve provides symmetry. Designs are usually placed halfway between the shoulder and elbow for optimal visibility; Smaller logos (3-4 inches wide) work best to avoid overwhelming the sleeve. This placement is ideal for adding subtle branding or complementary graphics, enhancing the overall aesthetic without distracting from the main design on the chest or back.

Design Size and Scaling Guidelines
Proper size and scaling ensure logos look professional and balanced. Measure designs for different shirt sizes and adjust for fabric types to maintain clarity and durability.
3.1 Measuring Designs for Different Shirt Sizes
Measuring designs ensures they fit various shirt sizes perfectly. For adult tees, logos are typically 12 inches wide and 14 inches tall on the front. Kids’ tees require smaller dimensions. Use a ruler guide to maintain consistency and balance. Record measurements for future reference to avoid resizing errors. Proper scaling ensures designs look professional and readable on all shirt types, whether it’s a chest logo or a full-back design. Accurate measurements are key to achieving a polished, visually appealing result.
3.2 Adjusting Logo Size for Various Fabric Types
Logo size must be adjusted based on fabric type to ensure clarity and durability. Cotton fabrics can handle larger designs, while blends may require smaller, sharper prints. Use a ruler guide to measure accurately. Thicker fabrics like fleece need slightly larger logos for visibility, while thinner materials prefer minimal designs. Testing on samples helps determine the ideal size. Proper scaling ensures logos remain legible and visually appealing across different fabric types, enhancing the overall brand presentation and product quality. This step is crucial for professional results.
Tools and Resources for Accurate Placement
Utilize a T-shirt ruler guide for precise measurements and alignment. Tools like vinyl and embroidery alignment aids ensure logos are centered and evenly spaced, achieving professional results every time.
4.1 Using a T-Shirt Ruler Guide
A T-Shirt Ruler Guide is an essential tool for ensuring accurate logo placement. It provides precise measurements to center designs, align graphics, and maintain consistent spacing. Featuring markings for standard placements like chest, sleeve, and back designs, it helps achieve professional results. The ruler is compact, durable, and suitable for various shirt sizes and colors, making it indispensable for designers and printers aiming for flawless alignment every time.
4.2 Alignment Tools for Vinyl and Embroidery
Alignment tools like rulers, grids, and laser guides are crucial for precise vinyl and embroidery placement. These tools ensure designs are centered, symmetrical, and properly spaced. Vinyl alignment tools often feature grid lines to match design dimensions, while embroidery tools may include templates for hoop sizes. They help maintain consistency across different shirt sizes and colors, ensuring professional results. These tools are easy to use and versatile, making them ideal for both beginners and experienced designers seeking flawless logo placement.
Fabric Type and Its Impact on Logo Placement
Fabric type significantly influences logo placement, as different materials demand tailored approaches for optimal print quality, design visibility, and durability, ensuring the best visual and functional outcome.
5.1 Printing on Cotton vs. Blends
Cotton fabrics are breathable and soft, making them ideal for detailed logo printing, while blends like polyester-cotton offer durability and less shrinkage. Cotton shrinkage can affect logo placement, so designs should be positioned slightly higher to account for this. Blends, being more stable, allow for consistent logo sizing and alignment. Understanding fabric composition helps ensure optimal print quality and longevity, whether using screen printing, embroidery, or vinyl transfers. Proper fabric-specific placement ensures logos remain vibrant and well-positioned over time.
5.2 Placement Considerations for Different Necklines
Various necklines influence logo placement, with crew necks offering a classic chest area for logos, while V-necks and scoop necks provide space below the neckline. Henley shirts allow logos on the chest or aligned with buttons. Design balance is crucial, ensuring logos complement the neckline without overwhelming it. Symmetry and proportional sizing are key to maintain aesthetics. Understanding neckline types helps in choosing optimal logo positions for a polished, professional look that enhances both design and functionality.
Branding Best Practices for Logo Placement
Effective logo placement enhances brand visibility and appeal, ensuring designs are balanced, visually consistent, and strategically positioned to represent the brand identity accurately.
6.1 Balancing Aesthetics and Visibility
Striking the right balance between aesthetics and visibility is crucial for impactful logo placement. Designs should complement the shirt’s style while ensuring the logo is easily noticeable. Proper sizing, alignment, and color contrast are key to achieving this balance, making the brand stand out without overwhelming the design. This harmony ensures the logo enhances the overall look and effectively communicates the brand’s message to the target audience.
6.2 Ensuring Consistency Across All Designs
Consistency is vital for maintaining a strong brand identity. Uniform logo placement across all designs ensures a cohesive look, reinforcing brand recognition. Whether it’s chest, sleeve, or back placement, maintaining identical positioning and sizing across different shirt styles and sizes creates a professional and polished appearance. This consistency helps build trust and familiarity with your brand, making it instantly recognizable to your audience. It also streamlines production processes, ensuring accuracy and efficiency in custom T-shirt manufacturing.
Troubleshooting Common Placement Mistakes
Identify and correct issues like off-center logos, misalignment, and sizing errors. Use tools like rulers or alignment guides to ensure precise placement and avoid fabric distortions.
7.1 Avoiding Off-Center and Misaligned Logos
To prevent off-center or misaligned logos, use a T-shirt ruler guide or alignment tool for precise measurements. Ensure designs are centered along the shirt’s vertical and horizontal axes. Double-check measurements before printing and test placements on sample shirts to confirm accuracy. Marking the fabric with light, temporary guidelines can also help maintain proper alignment during production. Consistency is key to achieving professional-looking results and avoiding costly mistakes.
7.2 Correcting Size and Positioning Errors
Correcting size and positioning errors is crucial for a professional finish. Start by resizing logos to fit standard measurements and reposition them using alignment guides. Ensure designs are centered and evenly spaced. Test adjustments on sample shirts before bulk production to maintain consistency. Using tools like rulers or embroidery software helps achieve precise results. Regularly checking and refining placements ensures high-quality output and avoids costly reprints.